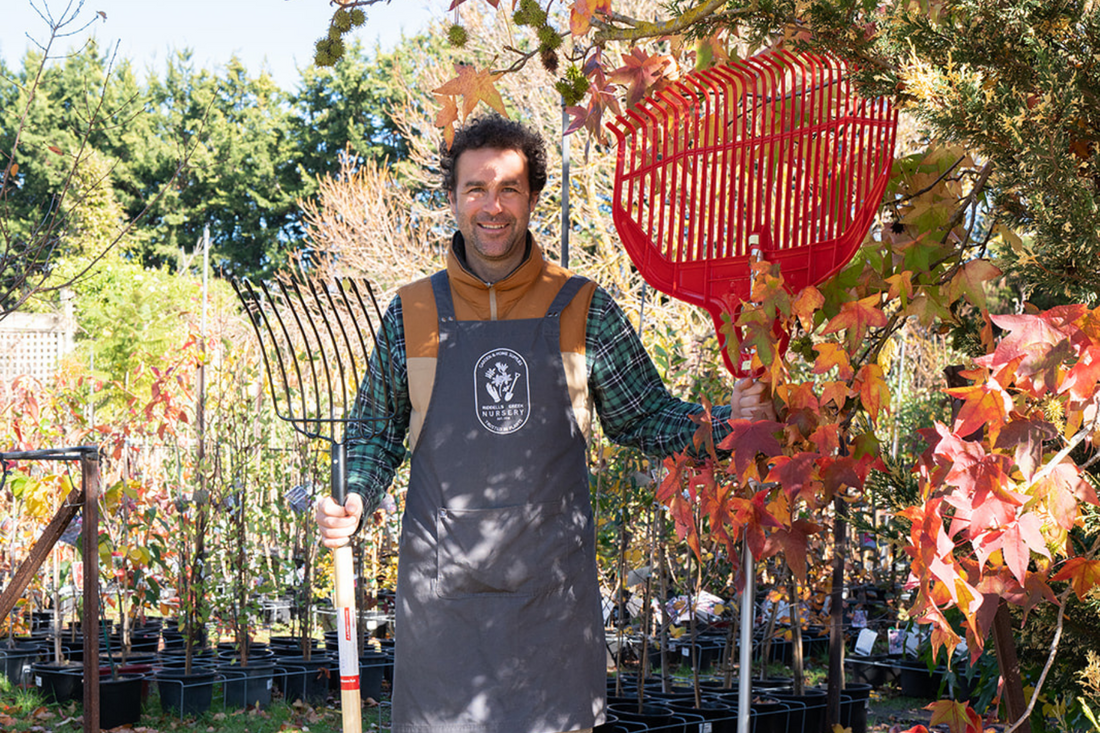
Find yourself with a heap of kitchen scraps piling up and a yard increasingly covered in autumnal leaf matter?
Well, why not layer up those unwanted bits into nutrient rich compost for your garden!
Composting is a rewarding way to recycle organic material, reduce waste, and nourish your plants naturally and in this step-by-step guide, we'll walk you through the basics of creating gardener’s gold!

Step 1: Get it together.
First up, you'll need a few essentials to get you going:- A compost bin or heap: This could be a purpose-built compost bin or simply a designated area in your backyard.
- Brown materials: Think dry leaves, small sticks, straw, or shredded newspaper. These provide carbon and help balance the compost.
- Green materials: This includes kitchen scraps like fruit and veggie peels, coffee grounds, and grass clippings. These provide nitrogen, essential for composting.
- Water: Keep a watering can or hose handy to ensure your compost is moist, but not soggy.
- A pitchfork or compost turner: This will help aerate your compost pile, allowing for proper decomposition.

Step 2: The Layer Cake.
Now that you've got your materials, it's time to start layering them in your compost bin or heap. Aim for a ratio of about 3 parts brown matter to 1 part green. Start with a layer of brown at the bottom, then add one of green. Repeat this process, making sure to sprinkle water over each layer to keep it moist.

Step 3: High Turnover.
Regular aeration is generally recommended for successful composting. Use your pitchfork or compost turner to aerate the pile by turning it every week or so. If life gets busy, no stress, it’ll still break down but help oxygenate the compost when you can to speed up decomposition.
Step 4: The Waiting Game.
Welcome to the baking phase and as your mix breaks down, it will actually generate heat! Aerate, add water if it gets too dry and be patient. Composting is a slow and steady process: depending on factors like temperature and moisture levels, it could take anywhere from a few weeks to several months to be fully cooked.

Step 5: Success?
How do you know when your compost is ready? Look for dark, crumbly, earthy-smelling material. It should have a texture similar to rich soil and be free of too many recognisable kitchen scraps. This ‘black gold’ is ready to be used in your garden!
Step 6: Spread the love!
Once your compost is ready, it's time to spread that nutrient-rich goodness across your garden beds! Mix it into potting soil for container plants, or use it as mulch to retain moisture and suppress weeds. Your plants will thank you for the extra love and so will the environment.
Lastly, a few bonus bits:
- Avoid adding meat, dairy, or oily foods to your compost, as they can attract scavengers and slow down decomposition.
- If using a compost bin, consider adding some wire mesh to the bottom to stop unwanted pests.
- Chop or shred larger scraps to speed up the composting process. Bigger stuff takes more time to breakdown!
- You can always add a compost activator like garden lime or compost starter to kickstart decomposition.
And there you have it, the Riddell’s compost run down! Let us know how you get on, what works for you and any other tips you might have for the rest of the community at:
INSTAGRAM
FACEBOOK
Happy gardening,
- The RCN team.

